Table of contents
Table of contents
What is a work breakdown structure?

Summary
In this guide, you will learn:
What a Work Breakdown Structure (WBS) is: a hierarchical breakdown of a project's total scope into manageable components.
Key components of a WBS: phases, tasks, subtasks, deliverables, and work packages, each crucial for planning and execution.
How WBS levels represent hierarchy: from broad goals to detailed work packages, aiding assignment and tracking.
The importance of WBS in project management: for estimating costs, scheduling, assigning responsibilities, and monitoring progress.
The role of supporting elements: WBS dictionaries and control accounts to clarify terms and manage scope.
How a well-constructed WBS communicates the project's big picture and aligns teams throughout the project lifecycle.
Try Miro now
Join thousands of teams using Miro to do their best work yet.
Managing projects can feel overwhelming, especially when you're staring at a massive to-do list with no clear way to organize it all. That's where a work breakdown structure (WBS) can be a game-changer. It helps you break down big tasks into smaller, manageable pieces. But what exactly is a WBS, and how can it help you manage your workload more effectively?
Let's dive in and explore how a WBS works, why it's important, and how you can create one to simplify the way you manage your projects.
What is a work breakdown structure?
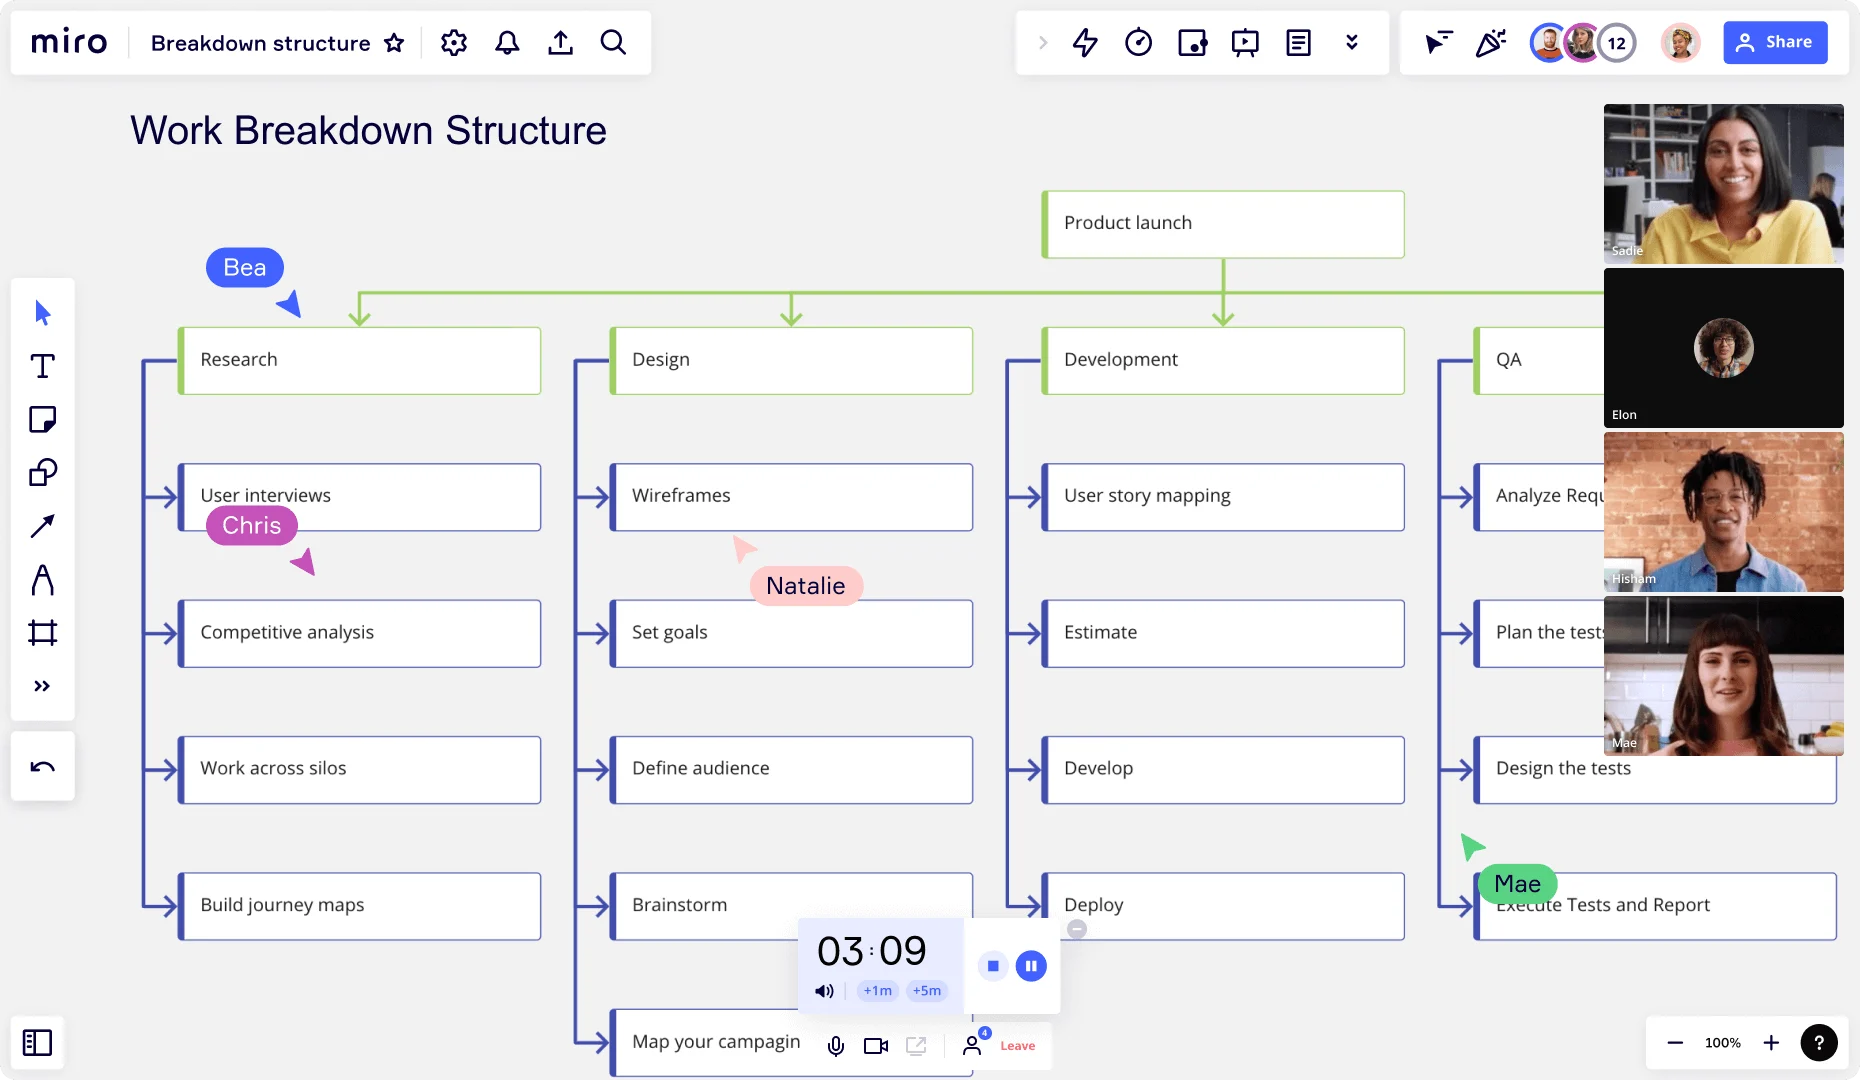
A work breakdown structure (WBS) is a project management tool used to visually represent all the tasks associated with a project in a hierarchical structure. The main goal of a WBS is to break down project deliverables. It gives project managers a solid foundation on which to create the project schedule and identify the best way to reach the project goals.
In practical terms, a WBS organizes work into parent-child relationships, where large project deliverables (the parents) are split into smaller, more manageable tasks (the children). This clarity is particularly helpful when you have cross-functional teams, multiple deadlines, or complex projects with lots of moving parts.
A WBS is especially helpful for teams managing large projects, as it divides the project into smaller and more manageable components. This makes it easier to visualize all the project elements.
As a result, project managers can find the most efficient way to complete the project. They can identify the critical tasks, effectively allocate resources, and even create a phased schedule of activities to streamline project completion.
Why is a WBS important in a project?
Let’s take a look at some reasons why a work breakdown structure is helpful in project management.
It helps manage complex work
It can be hard to track all the tasks and activities in a complex project. There are often conflicting deadlines, cross-functional teams working together, and various tasks happening simultaneously.
This is where a work breakdown structure in project management can help.
A WBS allows you to break down a complex project in a simple way. You can easily see all the tasks involved in the project and how they contribute to the project deliverables. As a result, you can manage large projects more effectively and execute tasks more efficiently.
It helps enhance cross-functional collaboration
A WBS outlines all your project tasks in a single location. Everyone working on the project can see what the project involves, who’s responsible for each task, and when the tasks are due.
This is a great way to boost collaboration among cross-functional teams, as the entire project team can visualize all the tasks no matter what department they’re from. For instance, if anyone has any questions or concerns about a part of the project, they can simply take a look at the WBS to see who they should contact.
It helps improve resource allocation
Resource allocation is a key element of project success. Without it, you might not have the time, budget, or capacity to complete the project as planned.
With a WBS, you can allocate your resources efficiently because you have total clarity of all the project work. You can estimate costs, create timelines, and review capacity all in one location. This means you can effectively plan and structure your project, giving you a better chance of project success.
What are the 3 levels of a work breakdown structure?
A WBS breaks tasks down into different levels based on their hierarchy in the project. These levels allow project managers to categorize the work and visualize all the project tasks.
The upper levels tend to reflect the major deliverable work areas of the project, while the lower levels provide detail and focus for the project. Although most work breakdown structures have three levels, you can use as few or as many as you need.
We’ll use software development to show you how levels work in a WBS. In this example scenario, the software team is developing a new chatbot for their website.
Level one
The top level of the WBS outlines the project’s title. In this example, the top level is “developing new software for customer chatbots,” All the other project elements sit underneath this title.
You can also add information about the project scope to support the title. While this is not a necessity, it can help provide context. For example, you could outline the project goal, the final deliverable, any customer expectations, and so on.
Level two
The second level of a WBS sits under the title. It outlines the main phases of the project by breaking down the different categories of work.
When developing a new chatbot for customers, categories might include the following:
User flow
Fetching a response
API integrations
CRM integrations
Front-end system
Level two ensures that the project team covers all the necessary work areas to deliver the final deliverable.
Level three
The lowest level breaks the key areas of work down into smaller and more manageable tasks. Under the “user flow” category, the WBS could include the following individual tasks:
Understanding customer needs
Creating a conversation diagram
Writing conversation scenarios
Creating a chatbot voice to reflect your brand
Testing your conversation flow
Project teams can also use our User Flow Template to better understand how to implement user flow into new chatbot software.
This is a very simplified example of how the different levels within a work breakdown structure work. The exact structure varies from project to project, depending on the project size, your project objective, and your deliverables.
For instance, if you have a more complex project with multiple outputs, your project might have additional levels. It’s up to you to identify the best structure for your WBS based on the project you’re planning.
Creating a work breakdown structure
Now that we know what a WBS is and why it’s important, let’s outline some key steps on how to create a WBS of your own.
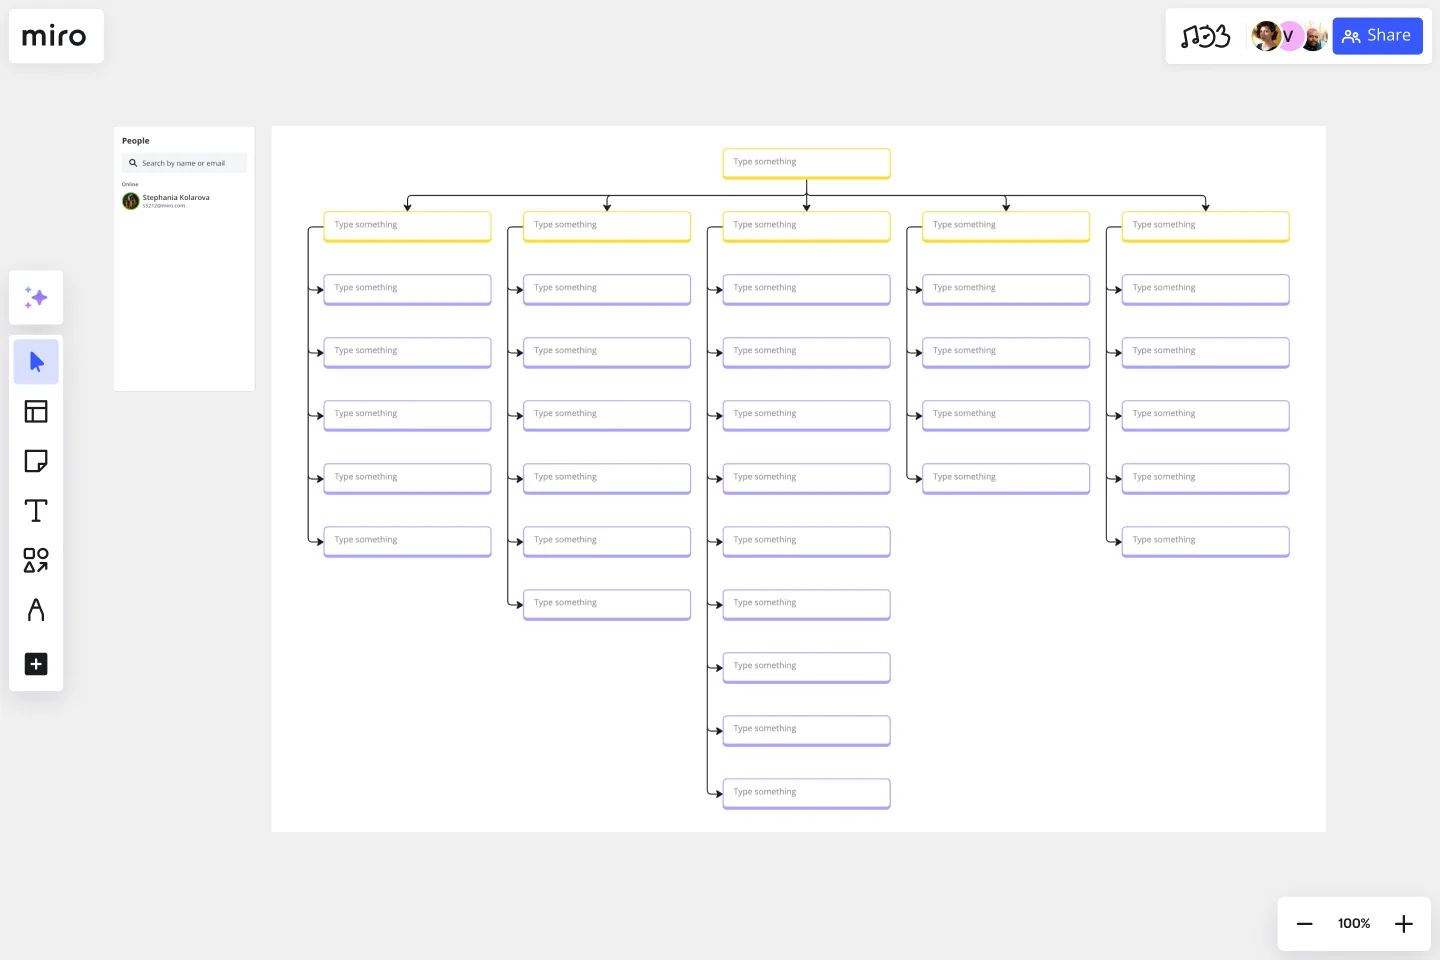
Work breakdown structure templates
1. Start with the project title
First, you need to add your project title to the work breakdown structure. This isn’t a difficult or time-consuming task, but it’s an important element of the WBS. It shows your project team what the project is about and what you hope to achieve.
You can also add some supporting information to provide context for the diagram. For example, if your project title is “launch new product,” you might also add information about who the product is for and why you’re creating it.
2. Add your deliverables
A WBS always works backward from your deliverables. You define what you want to achieve, then use the WBS to identify the tasks, activities, and resources you need to get there.
This means you need to create clearly defined project deliverables. To do this, ask yourself the following questions:
What do you want your project to achieve?
How will you define the project’s success?
Are you delivering internal or external deliverables?
How does the project align with company KPIs?
After answering these questions, you should have a clear idea of what your project deliverables should be. You can then add these deliverables to the WBS, where they’ll sit underneath the title as the next step down in the hierarchy.
3. Split your deliverables into separate components
Now that you have your key deliverables in place, it’s time to categorize them into separate work areas. These areas help organize the project and make it easier to identify the specific tasks required to complete it.
Let’s use an example to demonstrate how this categorization works.
Imagine that your project deliverable involves creating a new product to meet customer needs. To achieve this deliverable, you’d break it down into the following areas of work:
Market research
Competitive analysis
Concept development
Product planning
Product prototyping
These top-level components outline the areas of work that need to be completed to achieve this deliverable. From there, you can add specific tasks within each of these key areas — which leads us nicely to the next step.
4. Identify tasks within each key component
Each avenue of a WBS has a series of tasks to help you achieve the project deliverables. These tasks sit within each area of work, allowing you to continually categorize your work and better organize your project.
Let’s say that one of your areas of work is “market research,” Under this subheading, your WBS would outline the following tasks:
Create a market research plan
Perform market research
Collect the relevant data
Analyze the data
Identify how the data can inform product development
5. Pinpoint dependencies
Dependencies outline the relationships between tasks. They usually become obvious once you start looking for them. However, it can take more work to find them in a large or complex project.
This is where a WBS is helpful. The structure of a WBS allows you to look through everything at once, making it easier to spot the tasks that depend on each other.
To find dependencies in your WBS, you need to understand the four different types. These types are as follows:
Finish-to-start. Task A must be completed before Task B begins.
Finish-to-finish. Task A must be completed before Task B can be finished.
Start-to-start. Task A must start before Task B can start.
Start-to-finish. Task A must start before Task B can be finished.
For example, let’s say that Task A involves performing market research about customer preferences for product development. Task B, which involves designing the new product, can’t start until Task A is complete.
This means that Task B is dependent on Task A — an example of a finish-to-start dependency.
When you’ve identified your dependencies, you might want to add all these tasks to a separate diagram to keep track of them. Miro’s PERT Diagram Template can guide you through this process.
A program evaluation and review technique (PERT) diagram allows you to visualize all the dependencies in your project. It also helps you spot potential bottlenecks ahead of time, meaning that you can put preventative measures in place.
You can also use a PERT diagram to identify the critical path, which outlines the longest string of tasks that must be performed to complete the project.
6. Assign tasks
You can now assign tasks to the project participants. This shows your team members what they’ll need to do and when they’ll need to do it (when the project goes live).
When assigning tasks, it’s important to consider capacity. If teams don’t have the capacity to complete the work, you may need to rearrange tasks or allocate additional resources.
For example, let’s say that the WBS requires the marketing team to create an ad campaign. They currently have three team members to do this work, but it’s a big undertaking. To get the project delivered on time, you may need to hire a new employee for the marketing team.
If you’re using Miro to manage your WBS, you can use cards to assign tasks to team members.
7. Share the WBS with the relevant stakeholders
When all the tasks, activities, and deliverables are in the WBS, you can share the WBS with any relevant stakeholders. These individuals could be any high-level management or external stakeholders who need to approve the WBS before you can move forward.
You can also share the WBS with the project team so they can see what the project involves and the part they play in it. When everyone is happy with the WBS, you can use it as a foundation for other important project elements, such as creating the project schedule, performing a risk assessment, outlining the project budget, and allocating resources.
How other frameworks support your WBS
While a WBS is powerful on its own, combining it with other frameworks can give you an even clearer view of your project. Let's look at how different tools can enhance your WBS and boost your workflow.
Kanban

Kanban is a visual way to manage work as it moves through stages. Pairing a Kanban board with your WBS gives you a clear path from task creation to completion. You can map your project using both a WBS diagram and a Kanban board side by side, providing visibility into where each task stands. This way, you can track progress and make adjustments in real time.
Timelines
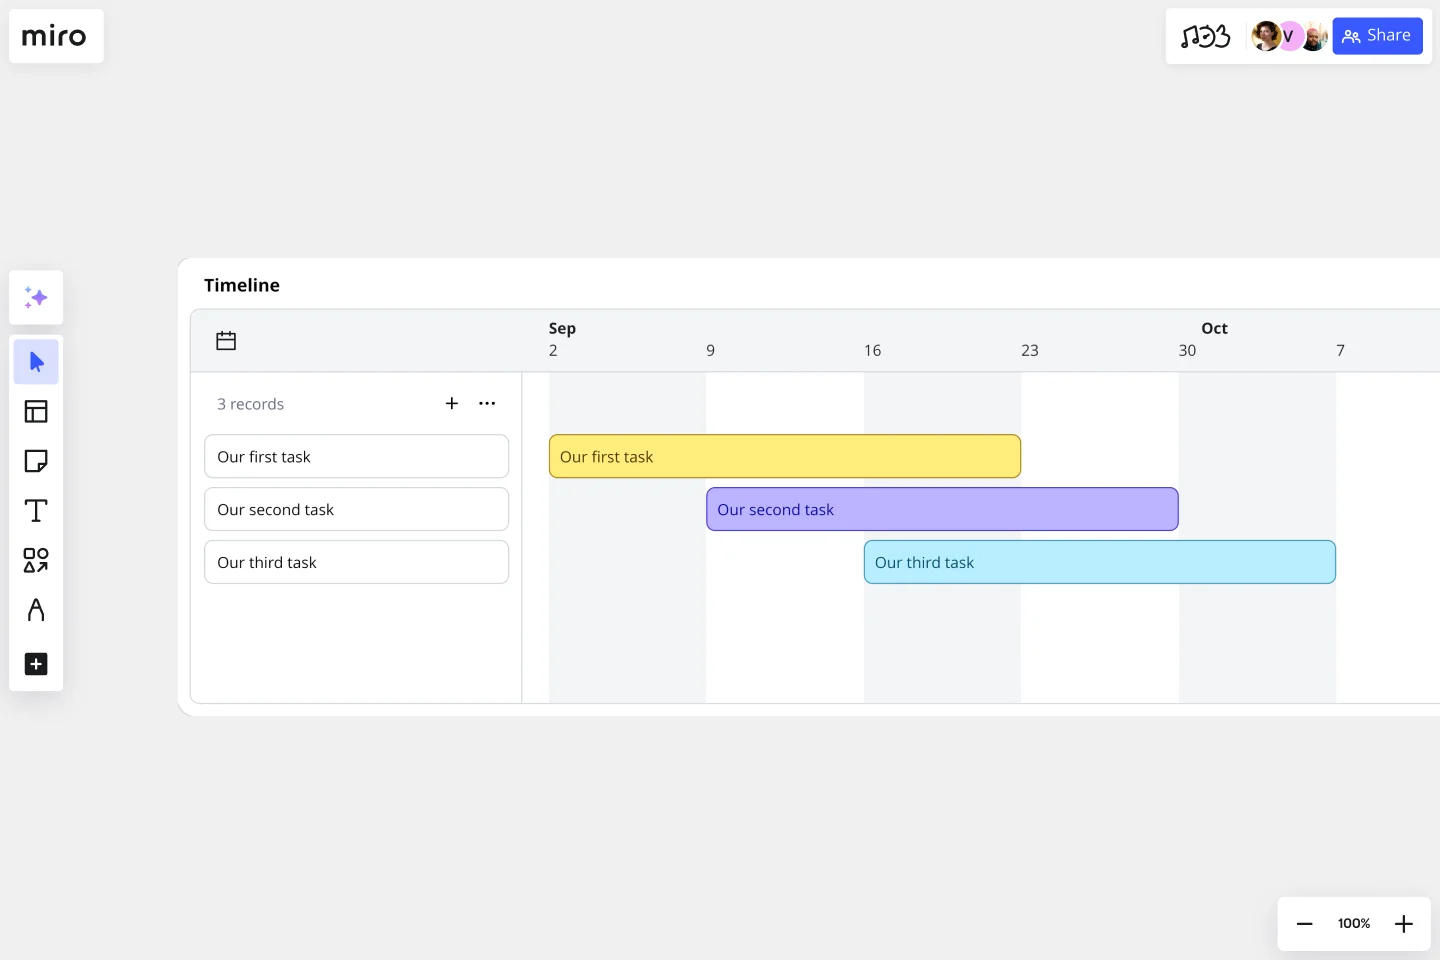
Sometimes, it's not enough to know what needs to be done—you also need to know when. That's where timelines come in. By turning your WBS into a project timeline, you can map out each task's start and end dates. This helps you ensure that every piece of the puzzle fits together and keeps you on track to hit deadlines.
Calendars
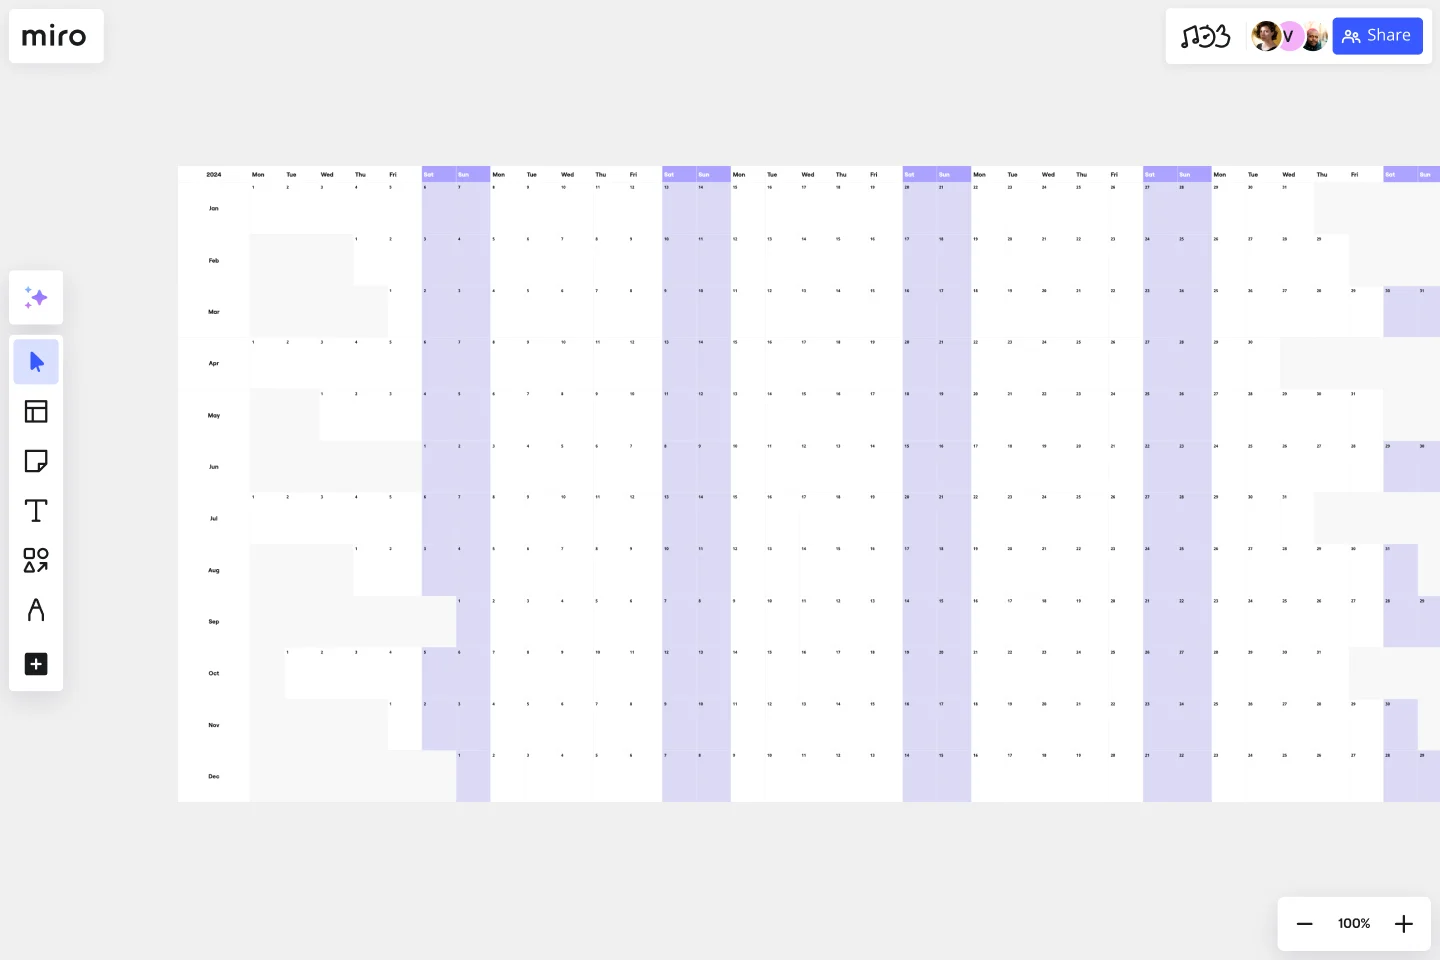
For a more detailed time-based view, syncing your tasks with a project calendar can be incredibly helpful. A visual calendar allows you to map out key milestones and due dates, helping your team stay organized. Plus, by integrating your WBS into external tools like Google Calendar, you can keep track of progress in a more structured way.
Gantt charts
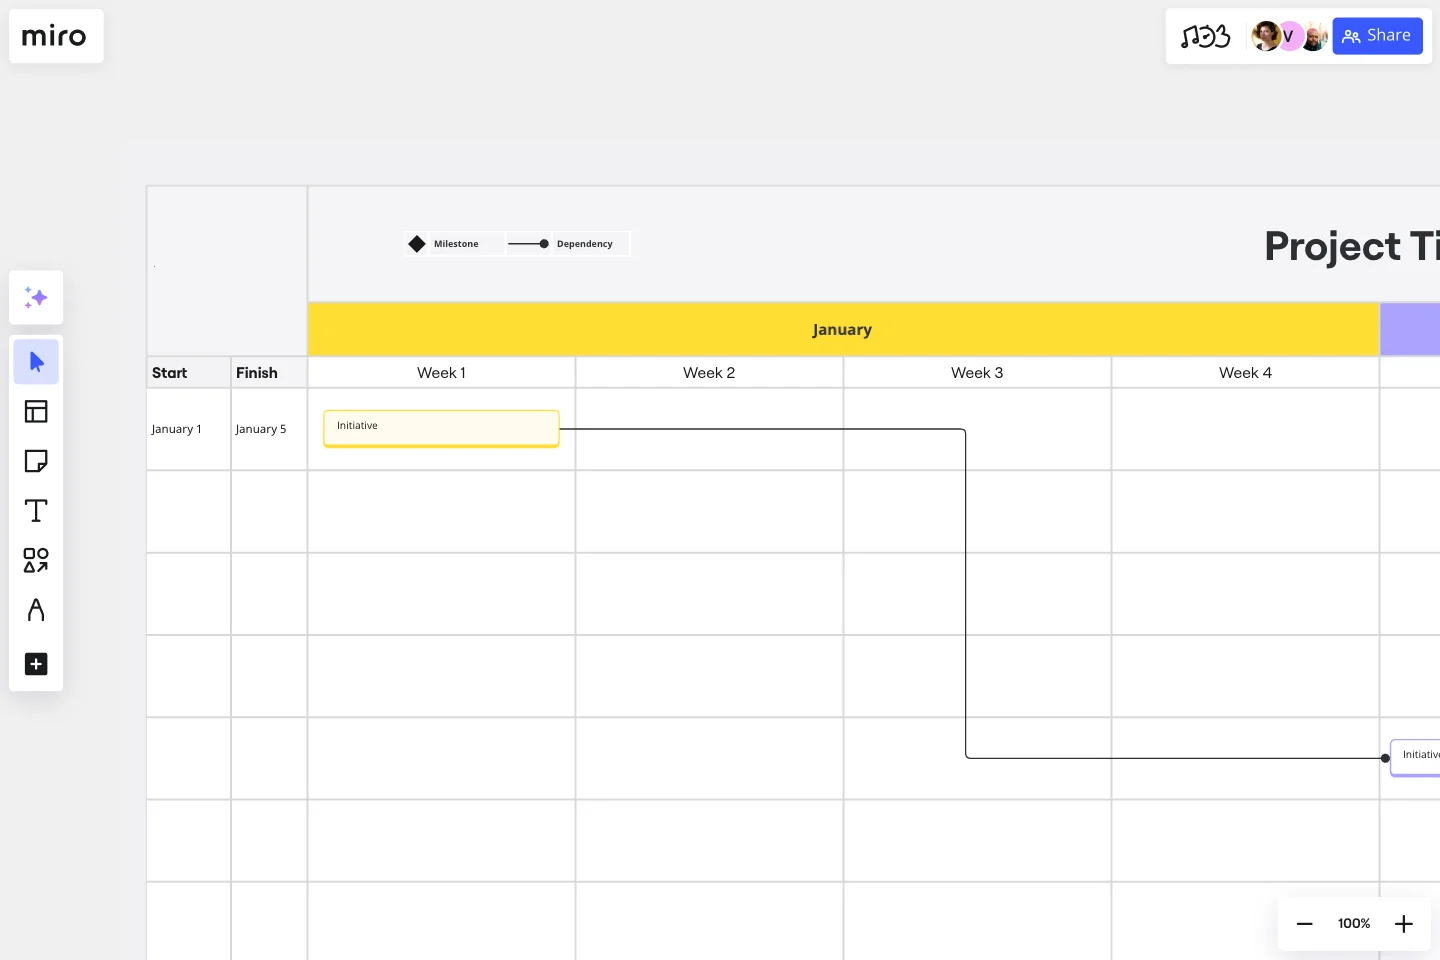
If you need even more structure, consider building a Gantt chart. Gantt charts take the hierarchical structure of a WBS and layer it with time dependencies, giving you a comprehensive view of your project's timeline. This way, you can visualize your project flow and adjust tasks as needed.
Work breakdown structure vs schedule: How do you choose?
If you’ve ever wondered about WBS vs schedule, you’re not alone. Both are essential for project planning, but they serve different purposes and should be used together to ensure smooth execution.
A work breakdown structure (WBS) organizes a project into smaller deliverables, focusing on what needs to be done. It breaks the project into phases, tasks, and sub-tasks, making it easier to manage scope, assign responsibilities, and track progress. Think of a WBS as the backbone of your project—it ensures that all necessary work is accounted for before you start scheduling.
A project schedule outlines when each task should be completed, detailing timelines, dependencies, and deadlines. It provides a structured timeline that helps keep the team on track and ensures milestones and deadlines are met.
When to use a WBS vs. a schedule
If your project is in the early planning stages, start with a WBS to break down the scope and deliverables. Once you have a clear picture of what needs to be done, you can create a schedule to establish a timeline for each task. This ensures that scheduling is realistic and based on a well-defined scope, reducing the risk of overlooked work or timeline bottlenecks.
Using Miro’s innovation workspace, you can seamlessly transition from WBS to scheduling. Build a visual WBS with drag-and-drop functionality, collaborate with your team in real time or async, and then integrate it into your project timeline to keep everything on track. This visual approach makes complex projects easier to manage and align across teams.
Work breakdown structure examples
A WBS looks different depending on the project, but let’s break down a common example in software development. A structured WBS helps ensure that every phase of development is accounted for, dependencies are clear, and teams remain aligned on deliverables.
Example of WBS in project management: Developing a mobile app
Imagine you’re leading a team to develop a new mobile app. Your WBS might look like this:
Project Initiation
Define objectives: Establish the app’s purpose, goals, and success metrics to align stakeholders. Without clear objectives, scope creep can derail the project.
Gather requirements: Conduct user research, gather business needs, and outline functional and non-functional requirements. A well-defined requirement set prevents costly rework later.
Identify stakeholders: Determine key decision-makers, end users, and contributors who will influence the project. Keeping stakeholders involved early ensures smoother approval processes.
Design & Prototyping
Create wireframes: Develop low-fidelity wireframes to map out user flows and key interactions before committing to detailed design. This helps validate concepts before investing in development.
Develop UI/UX design: Design high-fidelity mockups and interactive prototypes
based on user feedback. A strong UI/UX reduces friction and enhances the user experience.
Build interactive prototypes: Test the app’s functionality in a simulated environment to gather early feedback and refine features before development begins.
Development
Frontend implementation: Develop the user interface, ensuring responsiveness and accessibility best practices are followed. A strong frontend lays the foundation for seamless user interactions.
Backend development: Set up the server, database, and API logic that powers the app. A scalable backend is crucial for future updates and user growth.
API integrations: Connect third-party services, authentication systems, and external databases as needed. Well-integrated APIs improve functionality and reduce development time.
Testing & QA
Unit testing: Test individual components to ensure they function as expected. Catching bugs early minimizes technical debt.
User acceptance testing: Gather feedback from real users to validate usability and feature effectiveness. Testing with real users ensures that the app meets actual needs.
Bug fixing: Address critical issues before launch, optimizing for performance and stability. Releasing an app with known issues can impact user trust and retention.
Deployment & Maintenance
Release to app stores: Submit the app to the App Store and Google Play, following platform-specific guidelines. A smooth release process ensures the app is available to users without delays.
Monitor performance: Use analytics and monitoring tools to track performance, crashes, and user engagement. Continuous monitoring allows for rapid improvements.
Implement updates: Roll out feature updates, security patches, and optimizations based on user feedback and technical improvements. Regular updates keep users engaged and maintain app relevance.
With our visual planning tools, you can easily map out your WBS, drag and drop elements, and keep everything structured in a way that makes sense for your team. Plus, you can link each deliverable to supporting documentation, roadmaps, or backlog items, ensuring nothing slips through the cracks.
Tips and common mistakes to avoid when creating your WBS
Building a WBS might seem straightforward, but there are a few common pitfalls you'll want to avoid:
1. Going too granular: While it's important to break down tasks, don't go overboard. If you're drilling down into minutiae, you might lose sight of the big picture. Keep your tasks specific but manageable.
2. Being too vague: On the flip side, don't leave tasks too broad. Make sure each task in your WBS is actionable and has a clear owner and deadline.
3. Not updating your WBS: Your WBS isn’t a set-it-and-forget-it tool. Projects evolve, and your WBS should, too. Make sure you revisit it regularly to update tasks, add new ones, or adjust priorities.
4. Not assigning accountability: A WBS only works if everyone knows what they're responsible for. Assign clear ownership for each task to avoid confusion down the line.
Manage your workload like a pro with Miro
Managing complex projects doesn't have to be difficult. Miro's innovation workspace is packed with tools designed to simplify your workflow. From creating a WBS using our advanced diagramming capabilities to integrating with your favorite tools like Jira, Asana, or Slack, Miro has everything you need to bring structure to your projects.
With features like Miro AI to speed up diagramming and real-time collaboration to keep your team in sync, you'll be able to streamline even the most complicated projects. And with our ready-made templates, you can hit the ground running.
Ready to get started? Try building your WBS in Miro today and see how effortlessly you can organize your workload.
Author: Miro Team
Last update: October 16, 2025