Process mapping symbols

Summary
In this guide, you will learn:
Basic process map symbols: ovals, rectangles, diamonds, arrows, and their roles.
Advanced process map symbols: parallelograms (input/output), documents, subroutines, and connectors.
Importance of standardized symbols (UML) for clarity.
How symbols visualize workflows without clutter.
Flexibility to customize symbols and create a symbol key.
How Miro’s platform supports process mapping with rich symbols and templates.
Try Miro now
Join thousands of teams using Miro to do their best work yet.
What are process map symbols and how to use them?
Ever tried explaining a complex process and found yourself lost in a sea of words? That's where process mapping symbols come in. They’re the visual shorthand that makes it easy to break down and communicate even the most complicated workflows. By mastering these symbols, you can streamline your processes, identify inefficiencies, and get your team on the same page in no time. Imagine having a clear roadmap that guides every step of your project, helping you avoid common pitfalls and ensuring everyone understands their role. In this article, we’ll explore what are process mapping symbols, how they work and tips for using them in your process mapping.
The language of process map symbols
Process map symbols are like the alphabet of workflow diagrams. Each symbol represents a specific type of action or step within a process. When combined, they create a visual language that’s universally understood. Whether you're a product manager, UX designer, or engineer, understanding this language is crucial for effective communication and process optimization.
Just as learning a new language opens up new opportunities for communication, mastering process map symbols can transform the way your team works. These symbols help break down complex processes into manageable steps, making it easier to identify bottlenecks, redundancies, and areas for improvement. By using a visual language, you can communicate complex ideas quickly and effectively, reducing the risk of misunderstandings and ensuring everyone is on the same page.
For example, when you see a diamond shape in a process map, you know a decision needs to be made. This decision point can lead to different paths, each with its own set of actions and outcomes. By visualizing these paths, you can anticipate potential issues and plan accordingly, ensuring a smoother workflow.
Basic symbols in process mapping
Let's start with the basics. Here are the essential symbols you'll encounter in process mapping:

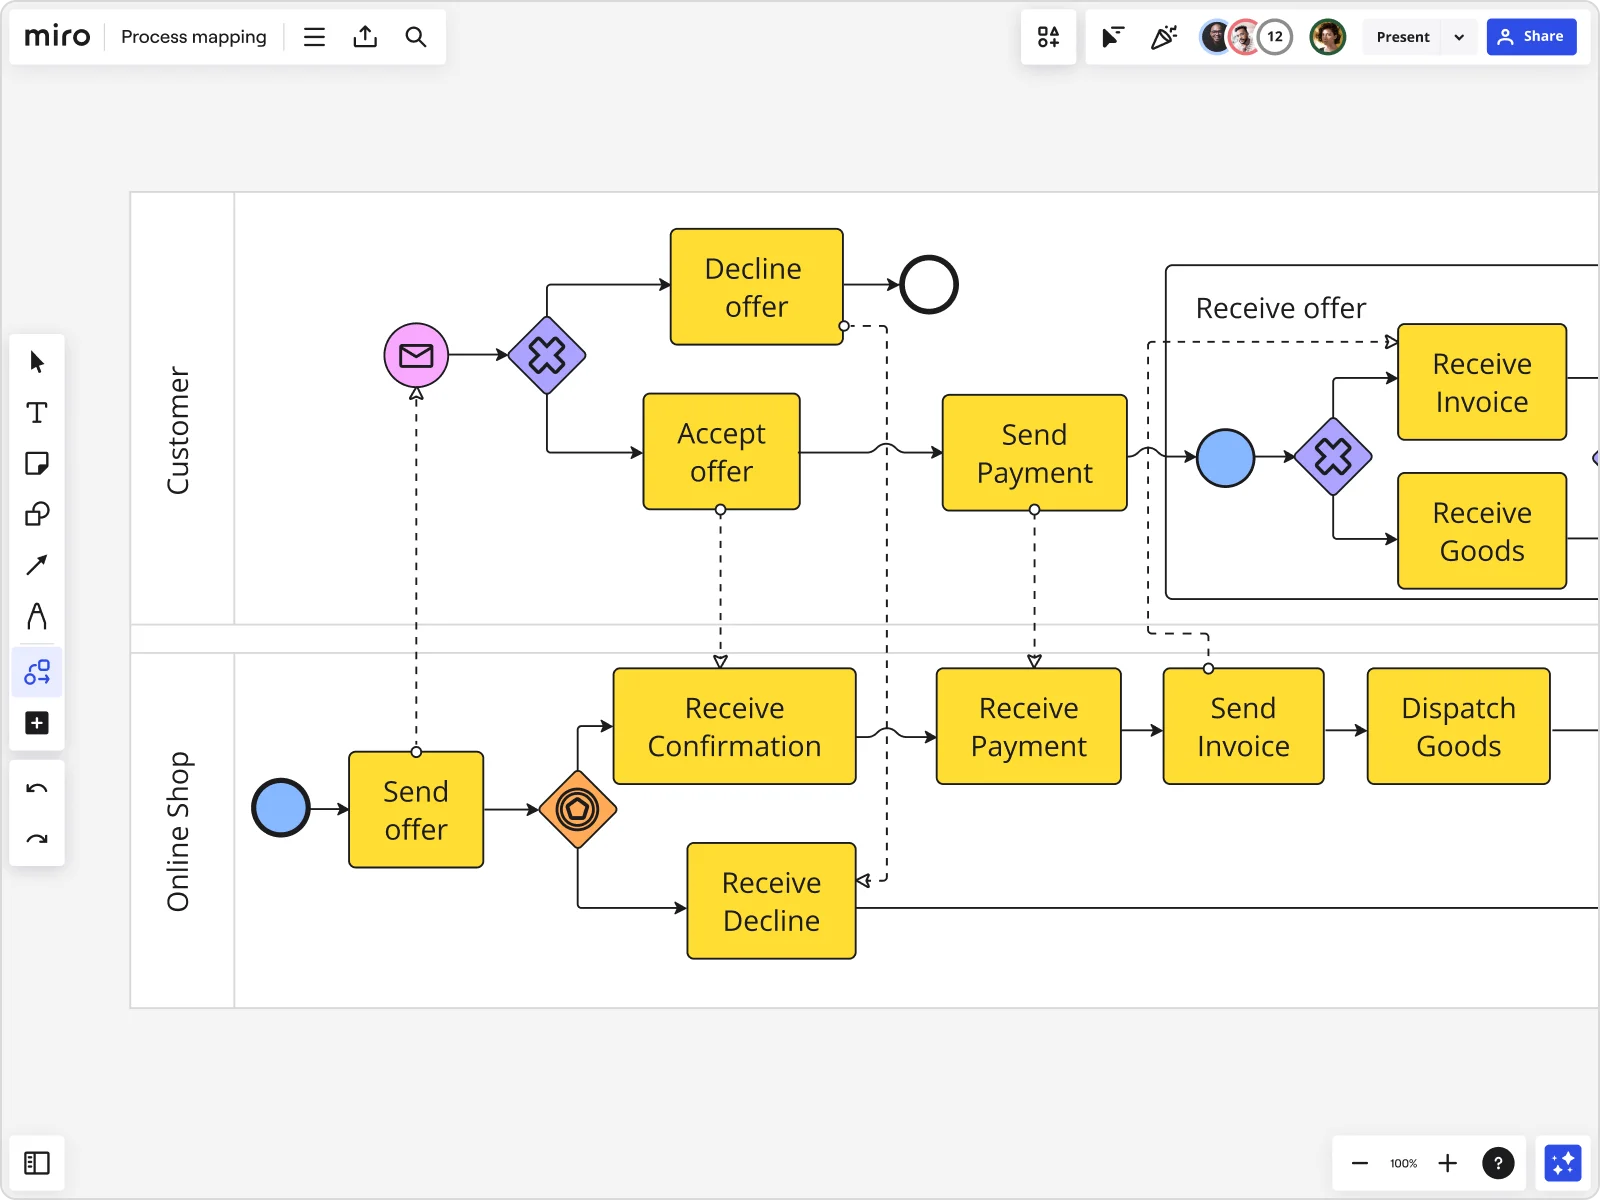
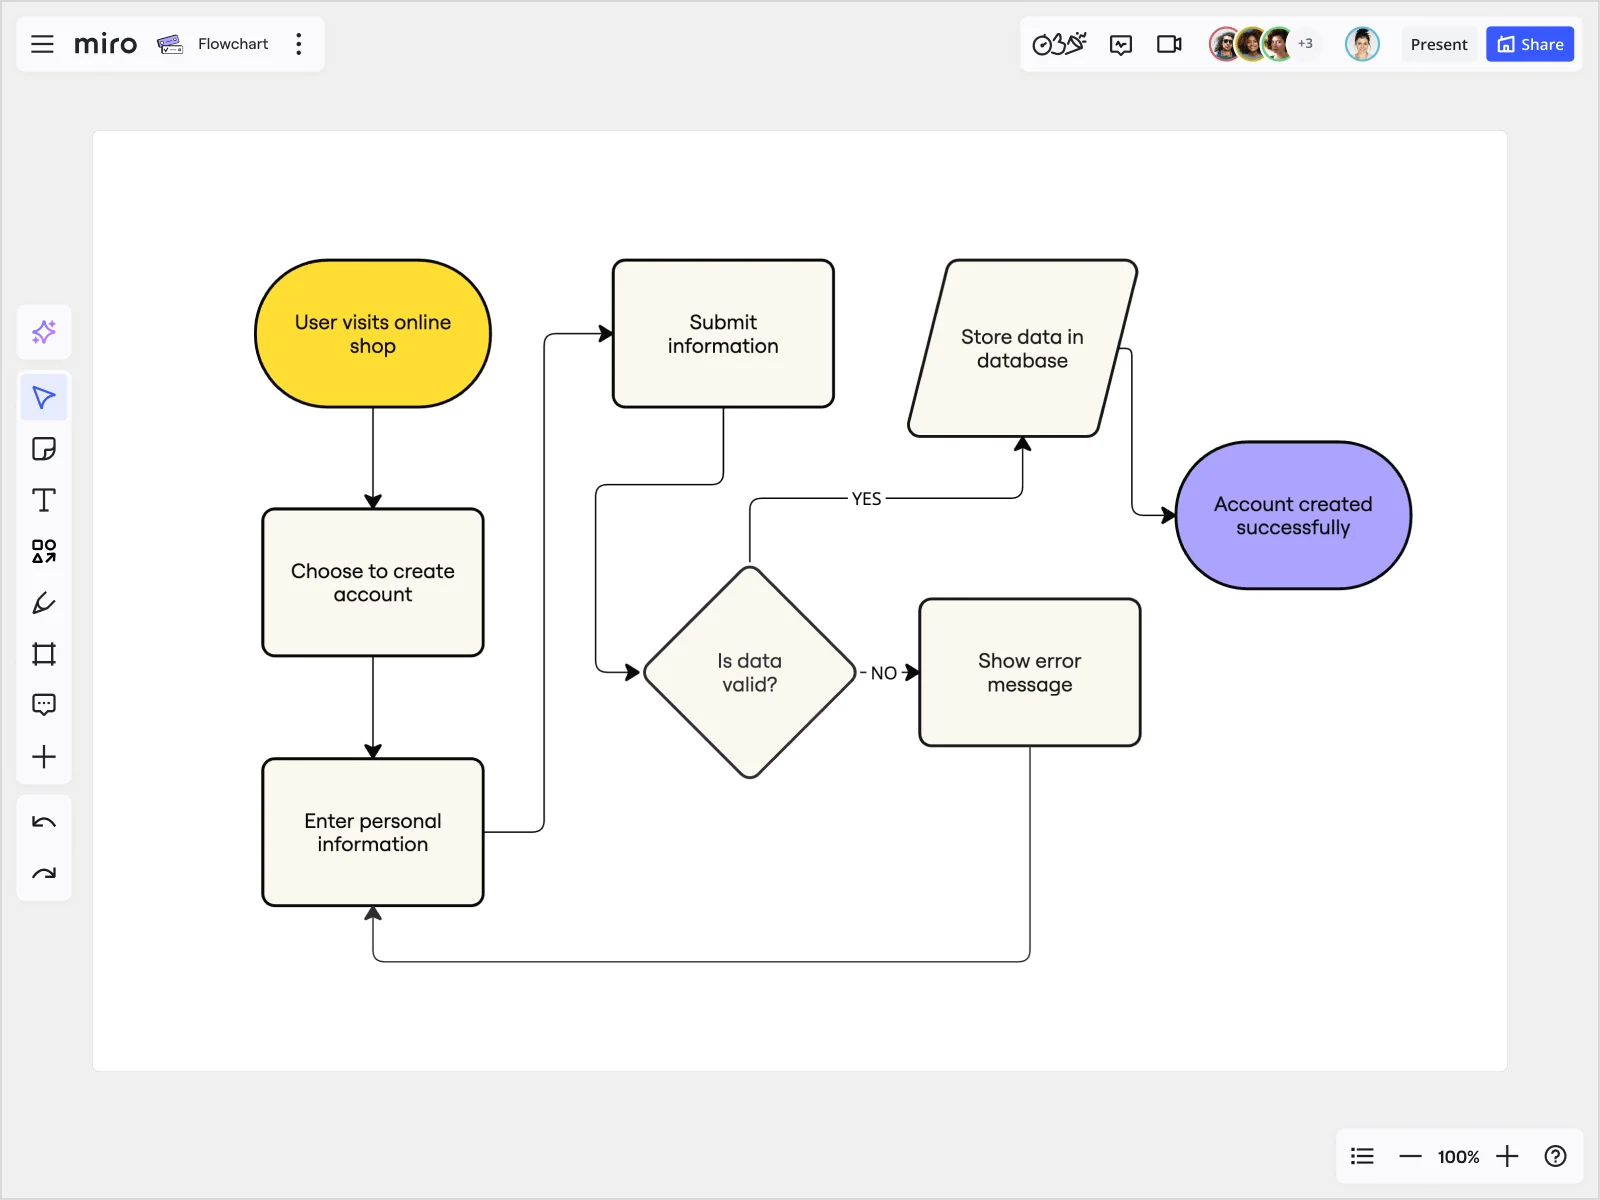
Oval (Start/End): This symbol marks the beginning or end of a process. Think of it as your process's opening and closing statements. It's the bookends that define where the process starts and finishes, providing clear boundaries.

Rectangle (Process/Action): This is your workhorse symbol. It represents a task or activity that needs to be performed. Every action taken in a process is captured within a rectangle, making it easy to see what work is being done.

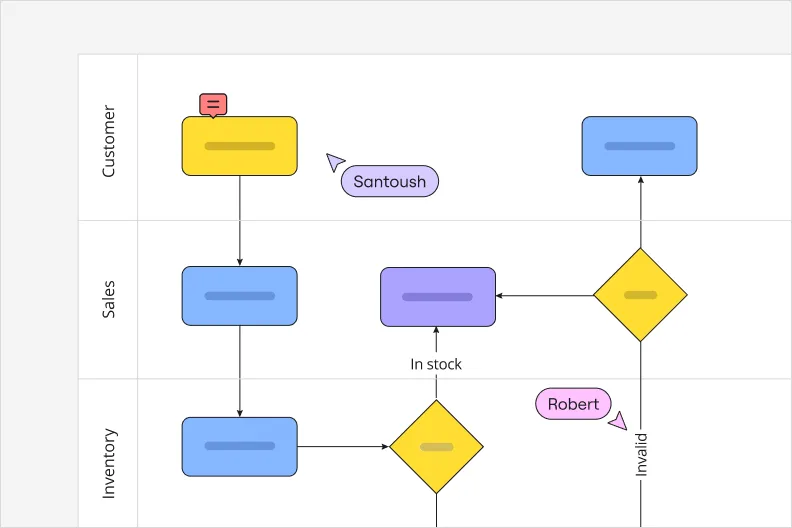
Diamond (Decision): Decisions are pivotal points in any process. This symbol indicates a point where a yes/no question is asked, leading to different paths. It's like a fork in the road, guiding you based on the answer provided.

Arrow (Flow): Arrows show the direction of the process flow. They connect the other symbols and guide you through the steps. Without arrows, your process map would be a series of disconnected symbols, making it impossible to follow the sequence of actions.
Understanding these basic process map symbols is the first step in mastering process mapping. They're the building blocks for creating clear and effective diagrams. By starting with these foundational symbols, you can create simple yet powerful process maps that clearly communicate the steps involved in your workflows.
Advanced process map symbols
Ready to take your process maps to the next level? Let's dive into some advanced process map symbols that can add depth and detail to your diagrams:

Parallelogram (Input/Output): This symbol represents data entering or leaving the process. It's useful for illustrating data collection points or outputs. For example, you might use this symbol to show where customer data is collected or where a report is generated.

Document (Document): Use this symbol to show a document or report involved in the process. It helps in visualizing paperwork or digital files that are part of the workflow. This can be particularly useful for processes that involve multiple documents or forms that need to be filled out and processed.

Subroutine (Predefined Process): When a process step involves a complex sub-process, use this symbol. It indicates that there's a detailed process within the step that can be mapped out separately. This is helpful for breaking down large, complex processes into smaller, more manageable parts.

Circle (Connector): This symbol is a lifesaver for keeping diagrams clean and organized. It indicates a jump to another part of the process map, helping avoid messy lines crossing all over the page. Connectors make your process maps more readable and professional-looking.
Miro’s visual workspace for innovation comes with an advanced shapes pack that includes these and many more symbols, allowing you to create detailed and professional process maps effortlessly. With Miro, you can easily access these symbols and integrate them into your diagrams, ensuring that your process maps are both comprehensive and easy to understand.
Tips for using process mapping symbols
Creating effective process maps is both an art and a science. Here are some tips to help you get started:
Keep it simple: Start with the basic symbols and gradually incorporate advanced ones as needed. Overloading your diagram with too many symbols can make it confusing. Aim for clarity and simplicity, especially when presenting your process maps to team members who may not be familiar with all the symbols.
Consistency is key: Use symbols consistently throughout your diagram to avoid misunderstandings. Everyone on your team should interpret the symbols the same way. Consistent use of symbols helps maintain a clear and uniform visual language, making it easier for everyone to follow along.
Collaborate in real time: Use Miro’s real-time collaboration features to work with your team. This ensures everyone’s input is captured and the process map reflects the collective knowledge. Real time collaboration also allows for immediate feedback and adjustments, ensuring that the process map evolves as needed.
Automate when possible: Take advantage of Miro's automated diagramming capabilities to save time and reduce errors. Automated tools can help keep your diagrams up-to-date as processes change. This ensures that your process maps are always accurate and reflective of the current state of your workflows.
Integrate with other tools: Miro integrates seamlessly with various other tools your team might be using, such as Slack, Jira, and Google Drive, ensuring that your process maps are always accessible and in sync. By integrating Miro with your existing toolset, you can streamline your workflow and ensure that all relevant information is available in one place.
Creating process maps with confidence
Mastering process map symbols opens up a world of possibilities for optimizing your workflows. With Miro’s visual workspace, you have all the tools you need to create clear, detailed, and collaborative process maps. From basic symbols to advanced shapes and automated features, Miro supports your journey from start to finish.
Imagine the confidence you'll have when presenting a well-structured process map to your team or stakeholders. You'll be able to clearly explain each step, highlight areas for improvement, and demonstrate how your process can be optimized.
So why wait? Dive into process mapping with confidence and watch as your team’s efficiency and clarity reach new heights. By leveraging the power of visual tools and collaborative features, you can transform your workflows and drive better results for your projects.
Author: Miro Team
Last update: October 14, 2025